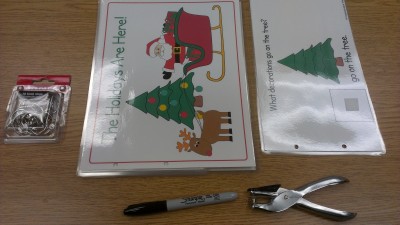
I use interactive books almost everyday with my preschoolers so I am constantly making and putting together new ones! I use two styles of interactive books with my students. One style has the interactive picture symbols along the bottom of the page like the book below. The other style has the pictures along the right side of the book. This how to focuses on how to assemble a book in the style with the pictures along the bottom of the page.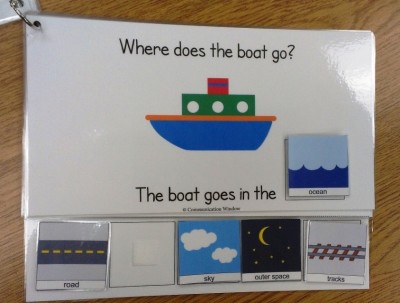 Materials needed: printer, laminate, adhesive velcro, scissors, book rings or binding coils
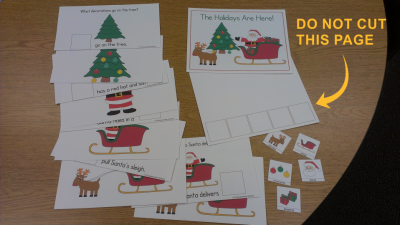
Step 1: Print out all the pages of the book. Cut along the dotted lines near the bottom of the pages. Cut out the picture symbols. Do NOT cut the page that has blank squares along the bottom.
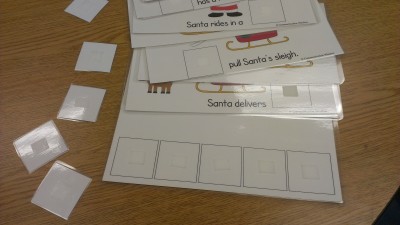
 Step 2: Laminate all pages. Place rough-sided velcro on the picture symbols and soft-sided velcro on the blank squares throughout the book.
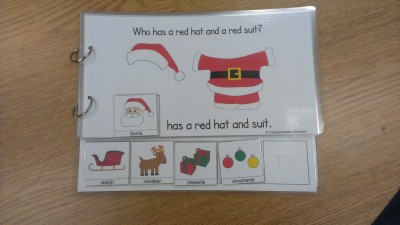
 Step 3: Decide whether you would like to assemble the book with book rings or with binding spines. If you are using book rings, either use a two-hole punch or a hole puncher to punch two holes in the upper 2/3rds of the book. Then use book rings to assemble the book. The full-size page with the blank squares along the bottom is the last page of the book.
 Step 4: Place the picture symbols on the blank squares on the last page of the book. Your book is ready to go! Have fun reading it and seeing how engaged your students can be with interactive pieces!
I have interactive books that cover dozens of themes and language concepts! To see all the interactive book sets available click here!